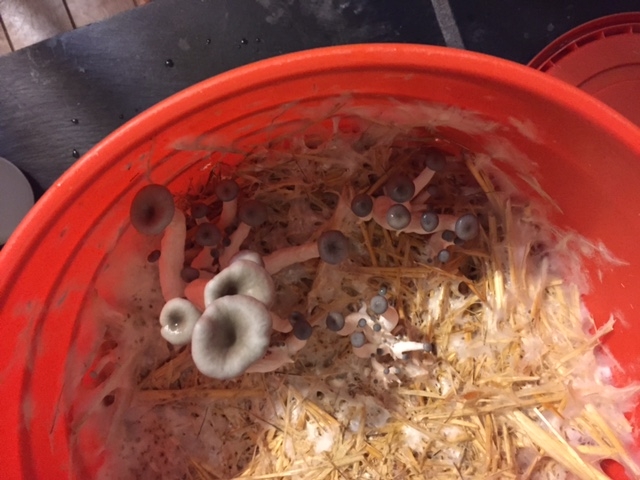
Four Weeks Later
Thar be mushrooms!
Three Weeks Later
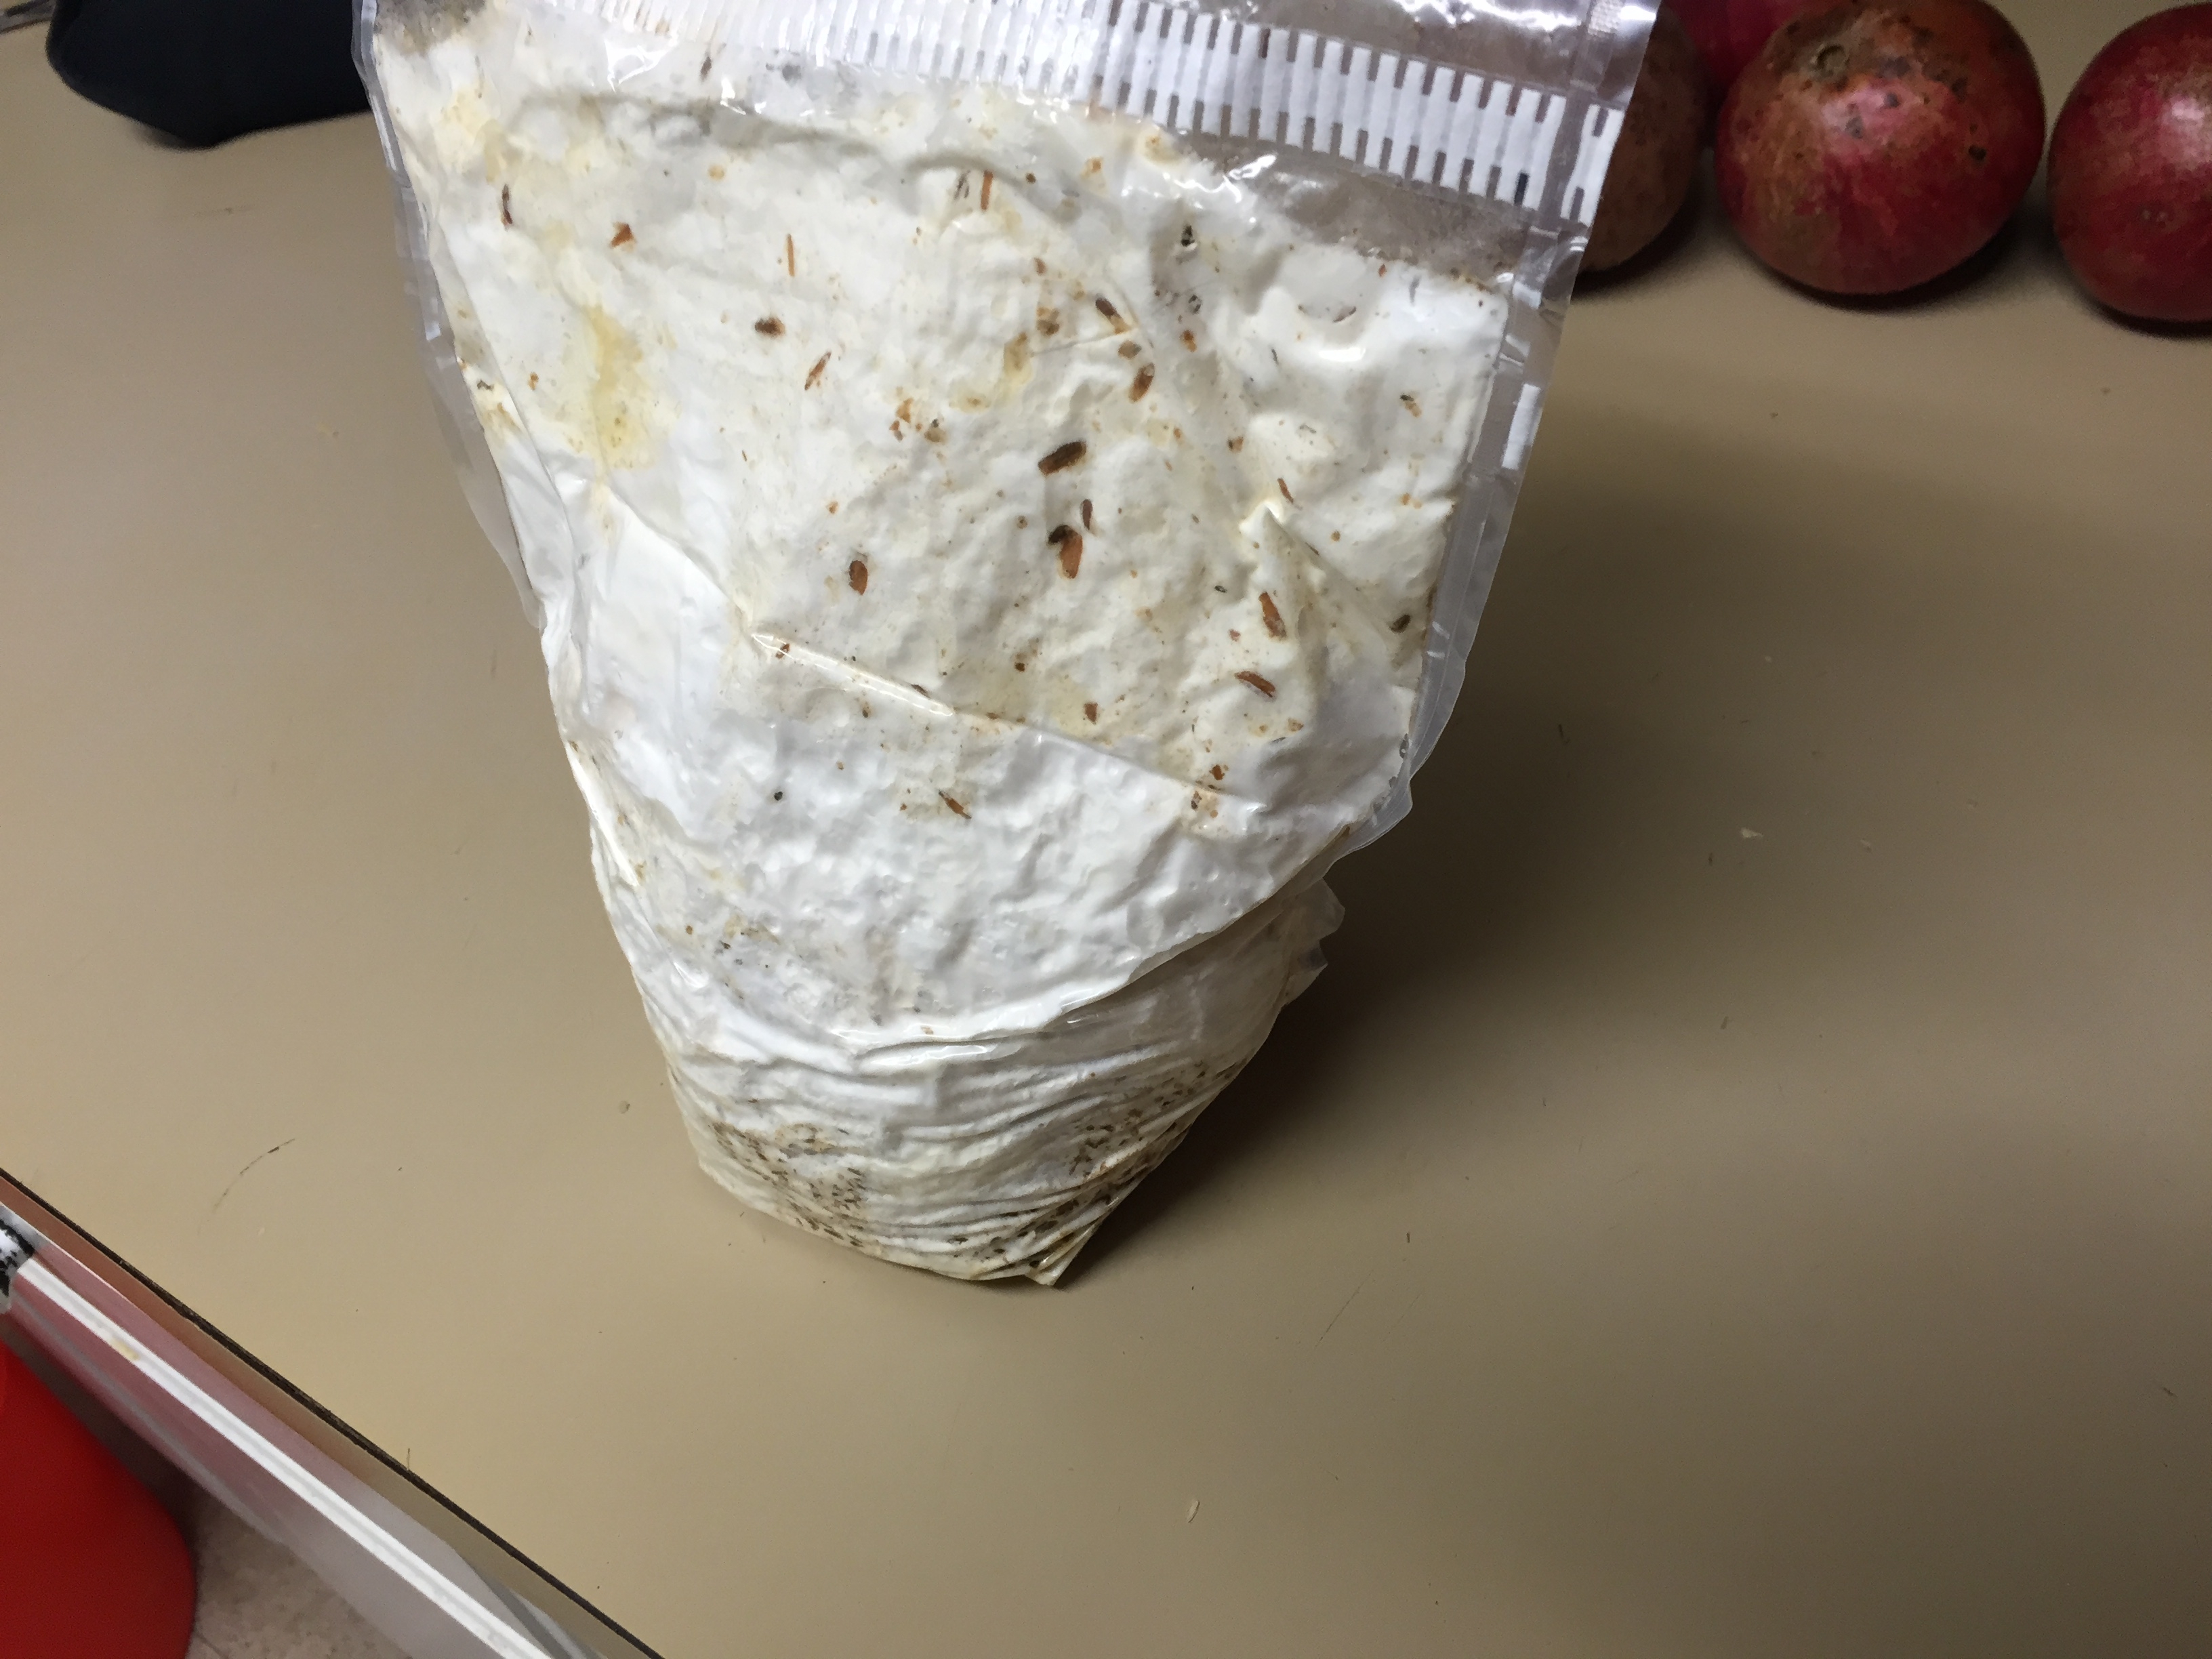
11/1/2015. After three weeks in closed bucket with lid on, her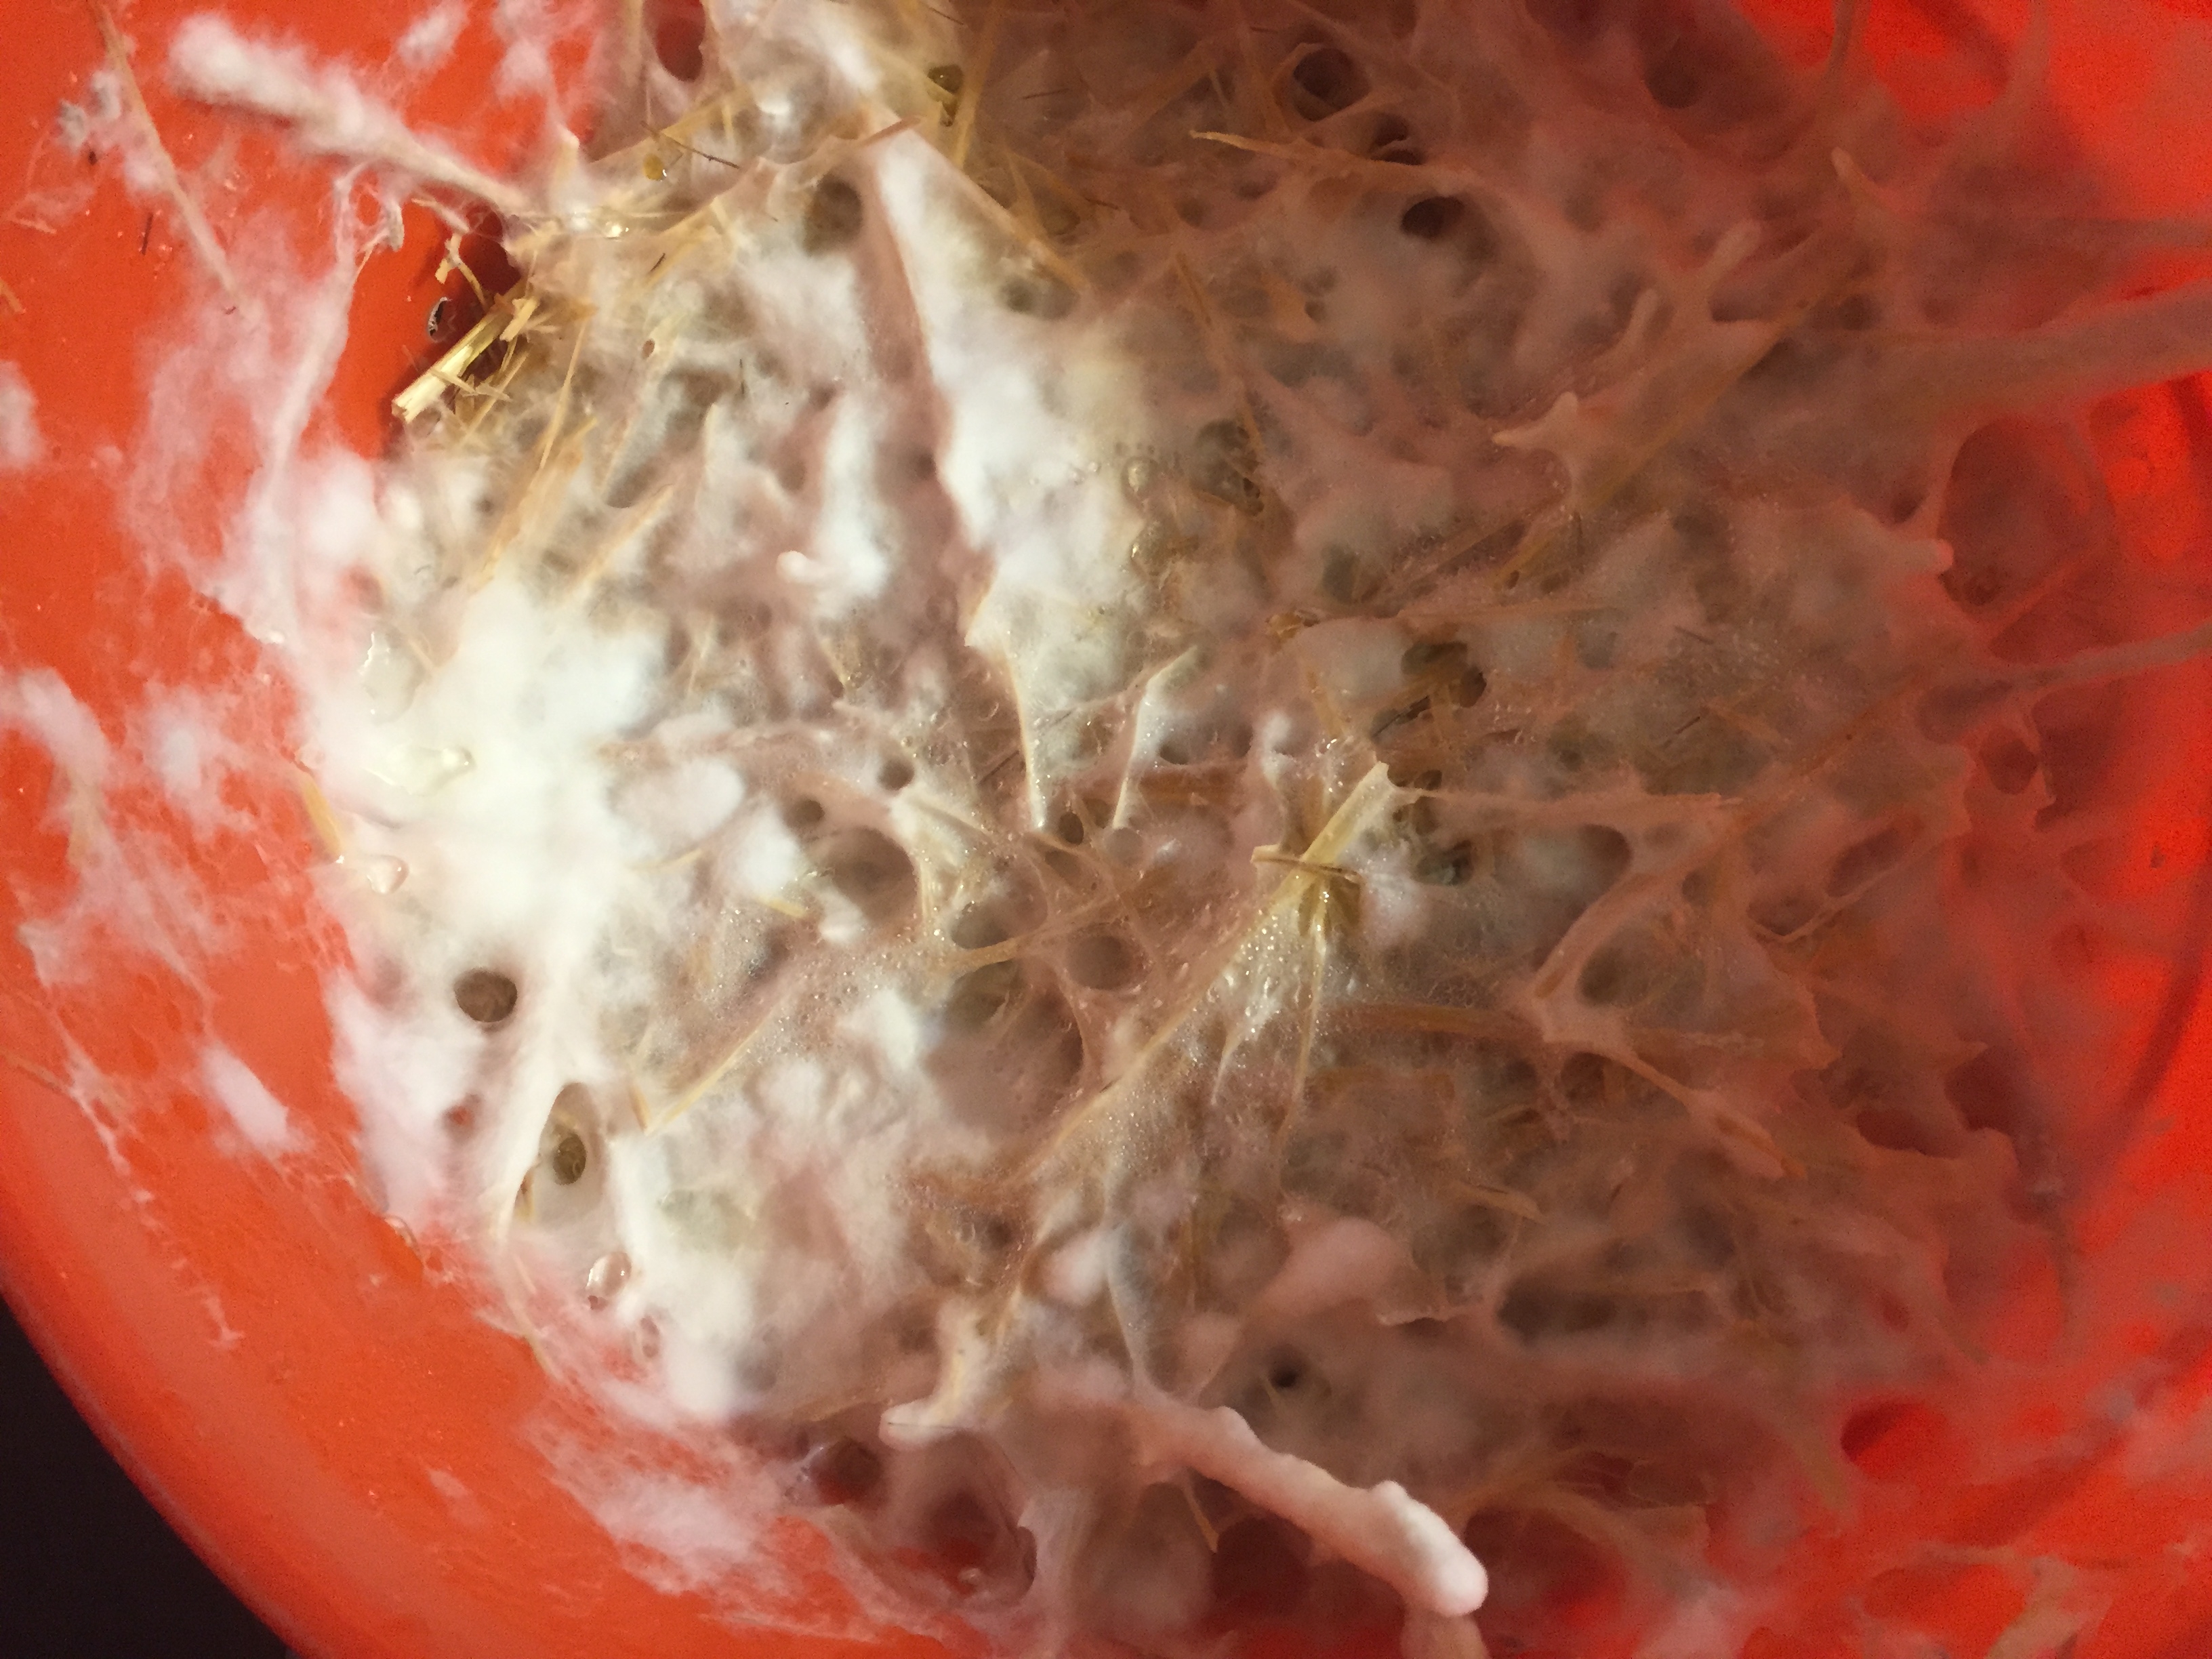 e is what the inside looks like. Not the most attractive looking thing, but it looks like the mycelium has completely colonized the straw in the bucket. Now, the plan for the next couple of weeks, is to leave the top open, spray water on the mycelium at least twice a day, to try to induce mushrooms to form.
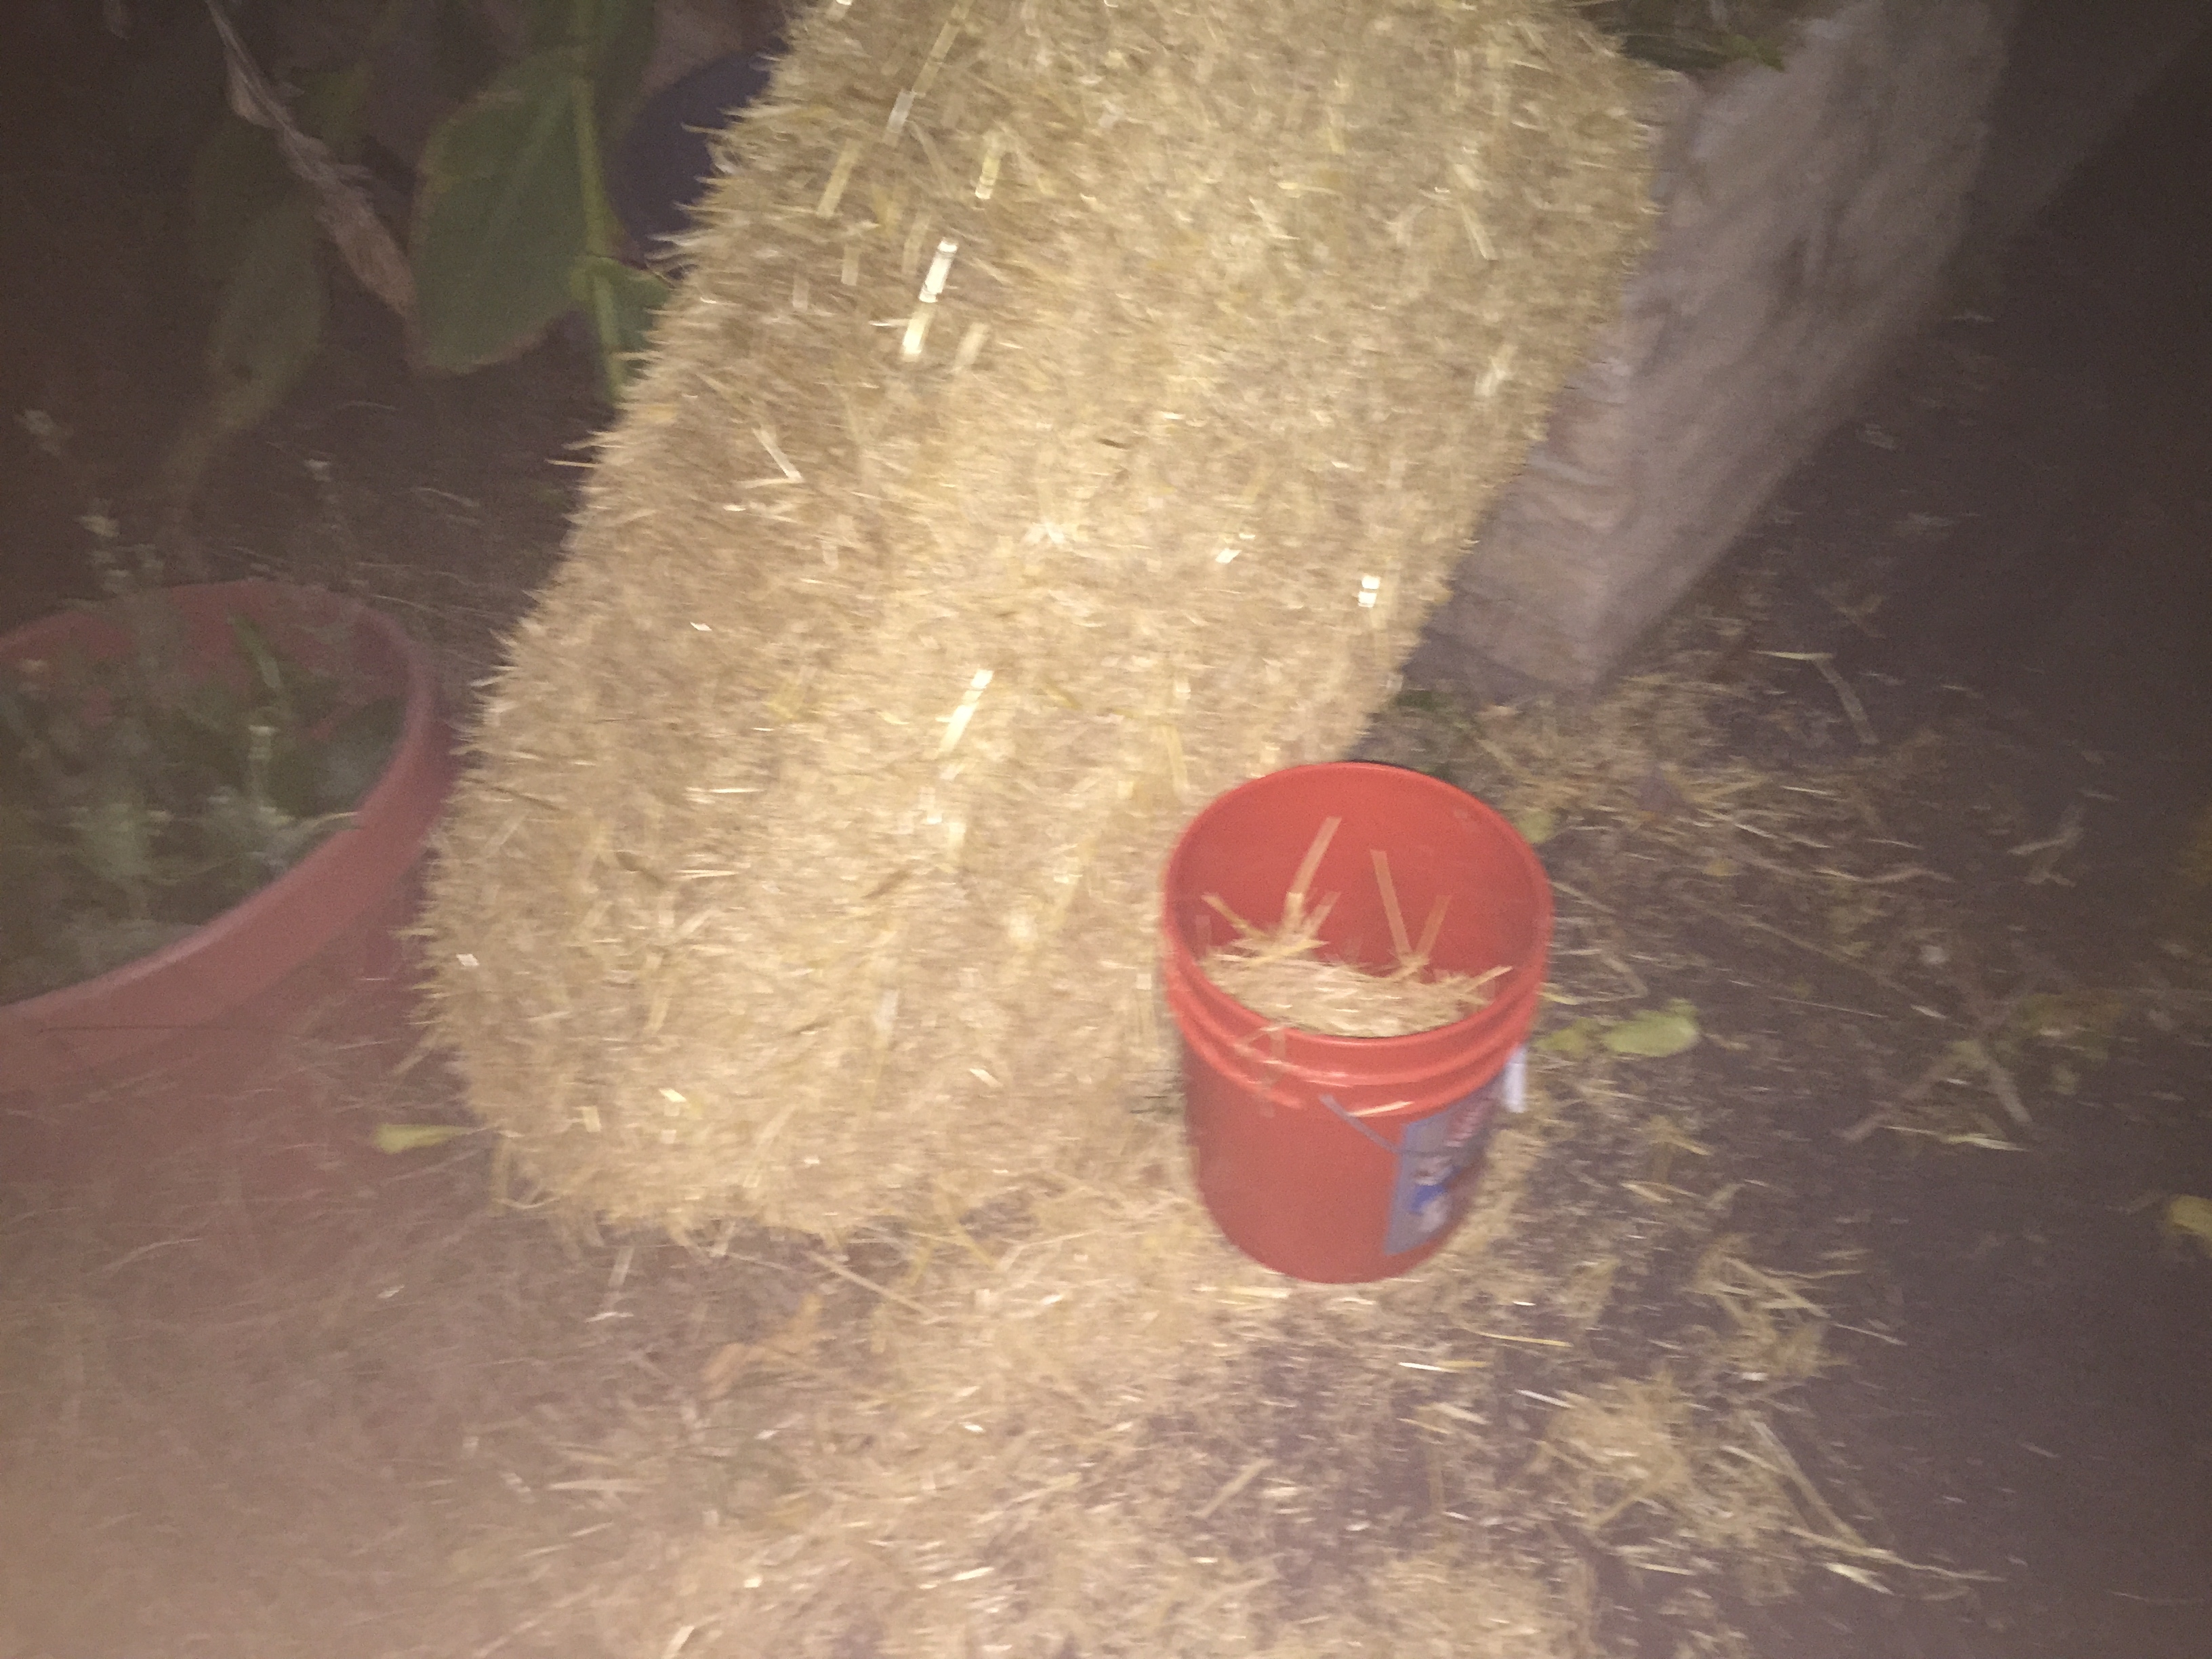
Step One – Find a substrate
Bought a bale of straw for $9. Only need a bucket full of straw for the amount of mycelium that I have. So I can either get more spawn, or use the straw as mulch in the garden. Or set up a Halloween decoration, use it for spawn, and then use if for mulch.

Step Two – Cut up the hay
The hay needs to be cut up so it can be further compacted. Compact straw helps the mycelium grow better as the mycelium doesn’t have to spend lots of energy growing to a distant food source. When I had a lawn mower, I would run the lawn mower over the straw. I don’t have a lawn, so I don’t have a lawn mower anymore. I tried using the food processor, but it doesn’t work because the straw is too loose and doesn’t get sucked into the blades. So I did it the slow way, with scissors, cutting up the big pieces down to two or three inches.

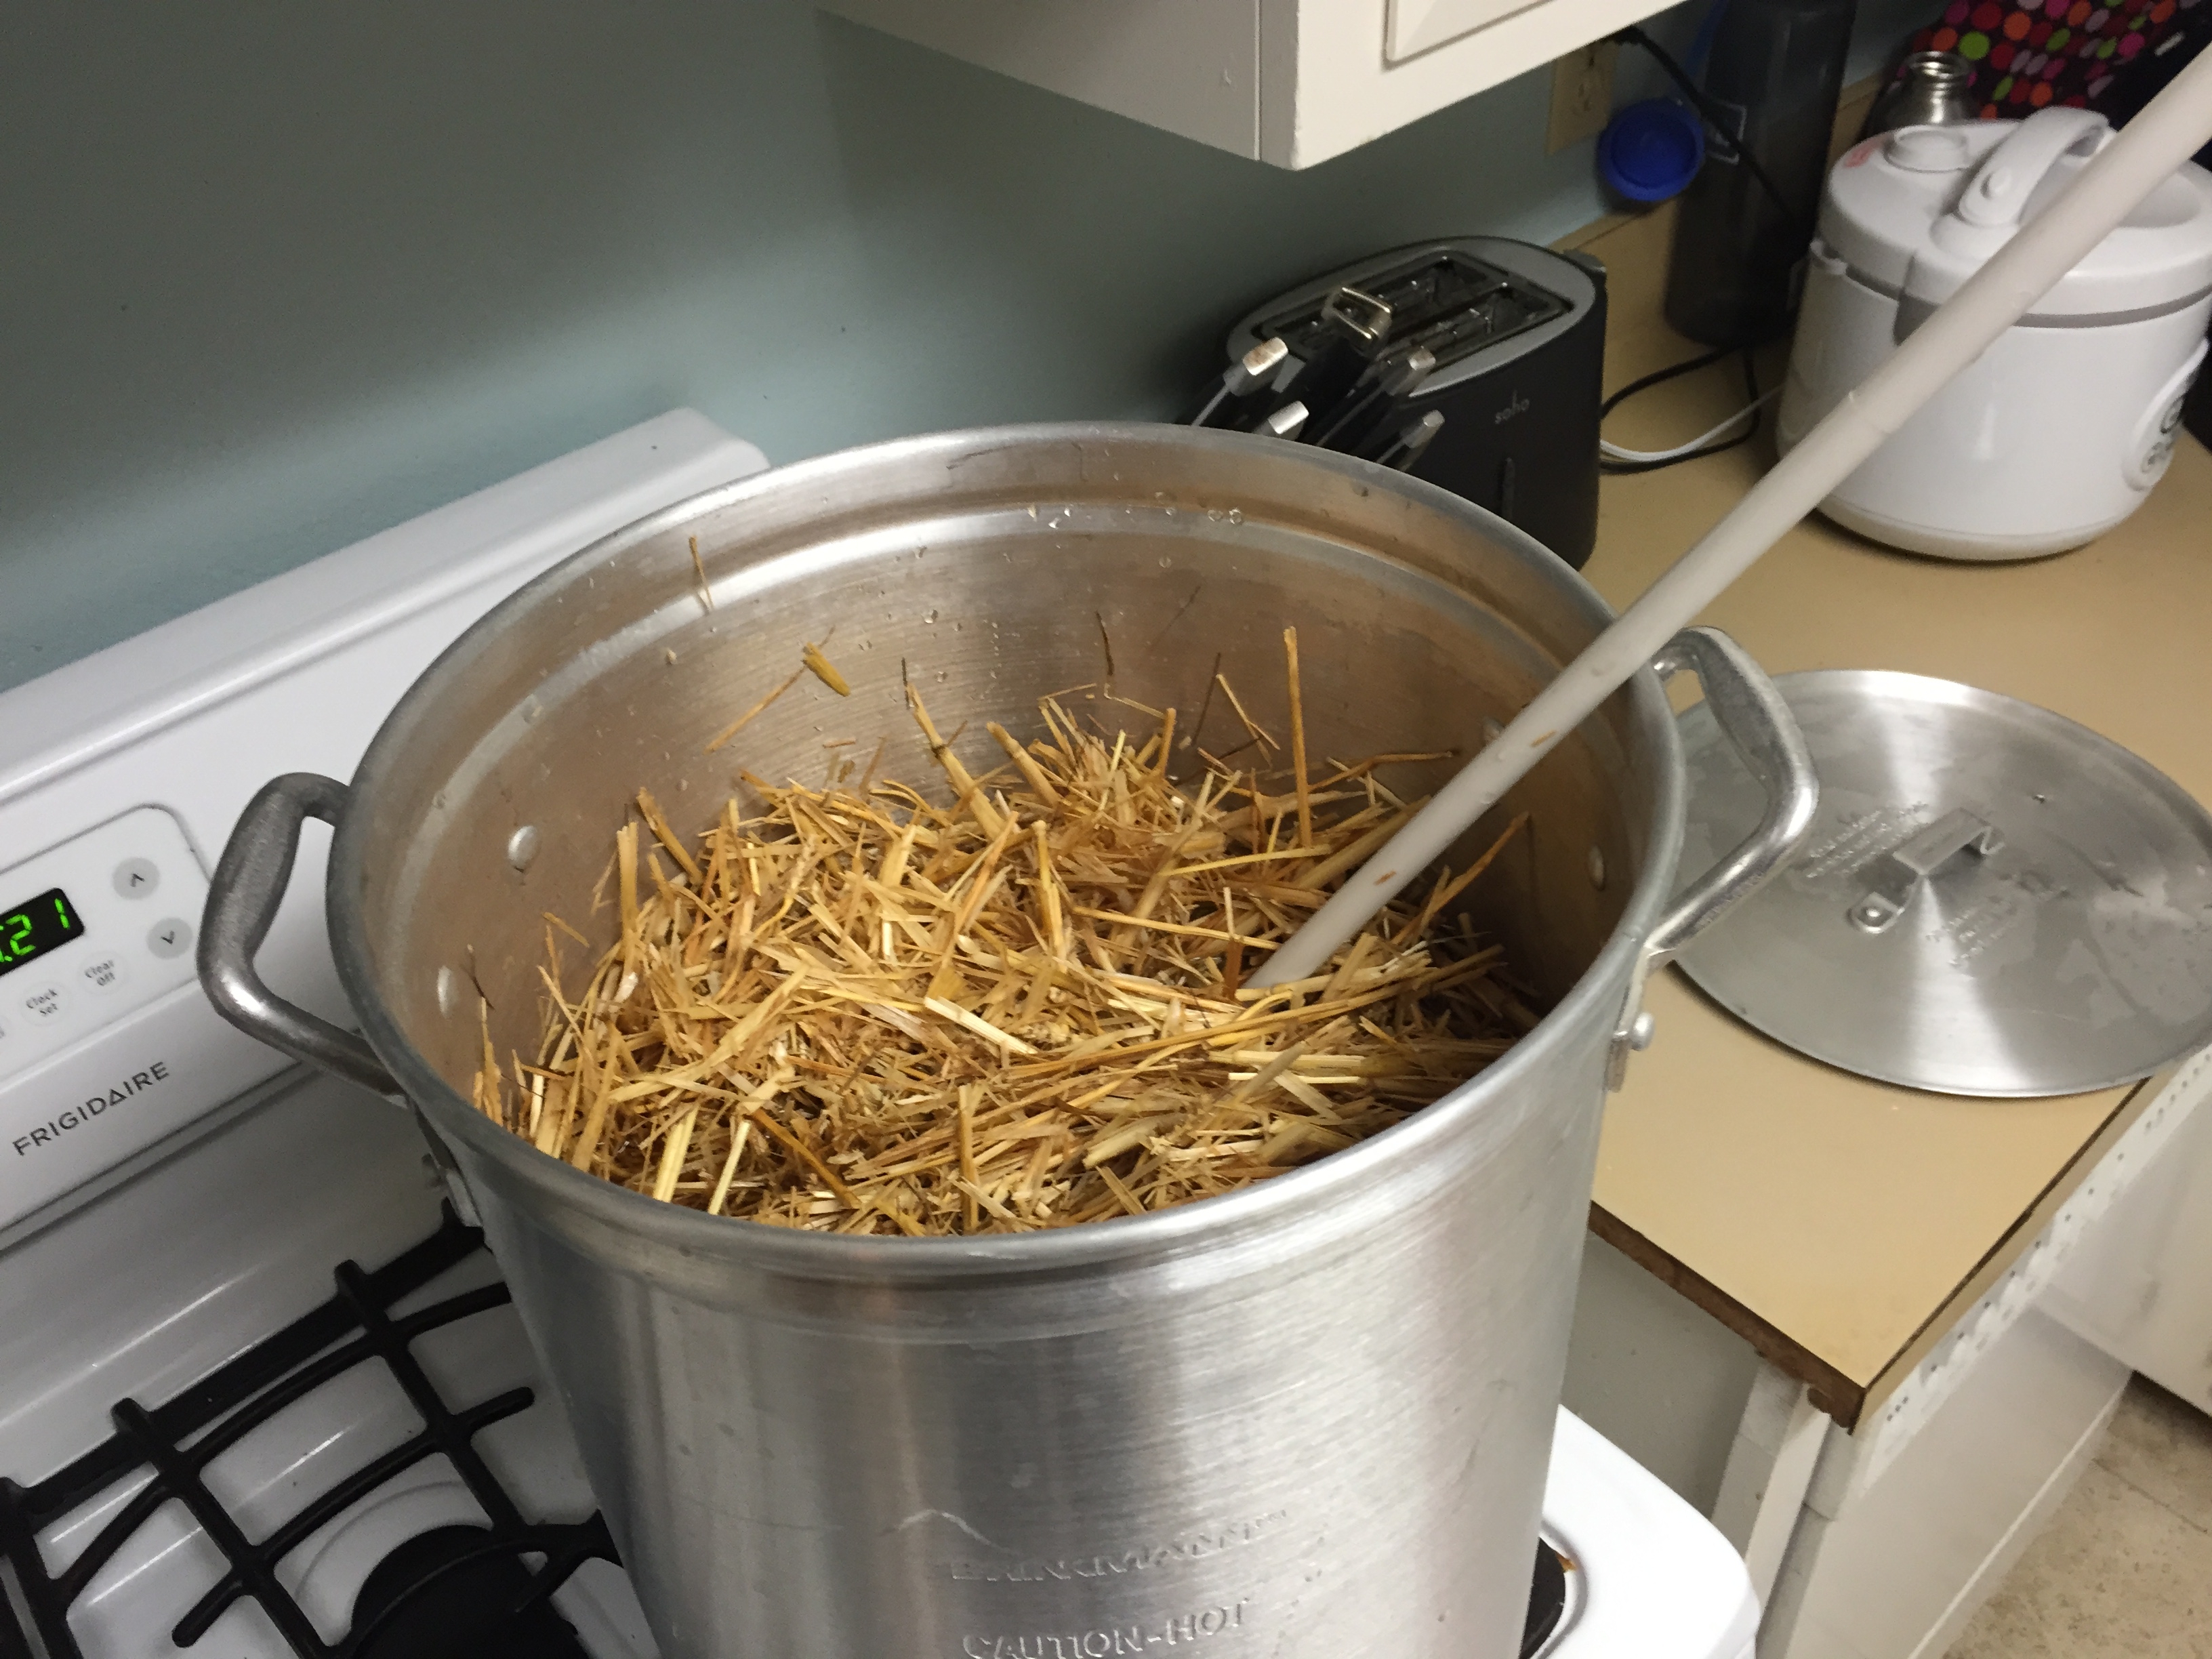
Step Three – Heat
I put the straw and water on the stove and started heating it up. The ideal pastuerization temperature is 145 degrees. Too hot and you sterilize rather than pasteurize. Too cool and you don’t kill the competitive bacteria. I figure I will put the straw in and heat it up rather than trying to overheat the water and guess how much the straw will cool it. If I were mass producing, I might heat up the water and just add to the straw.
Step Four – Spawn
The spawn comes from attending a lecture on mushroom growing. The species is a type of oyster mushroom, though I am not sure what the numbering code is. The spawn has completely overtaken the grain. I think the bags he uses have a patch that allows for some exchange of oxygen.
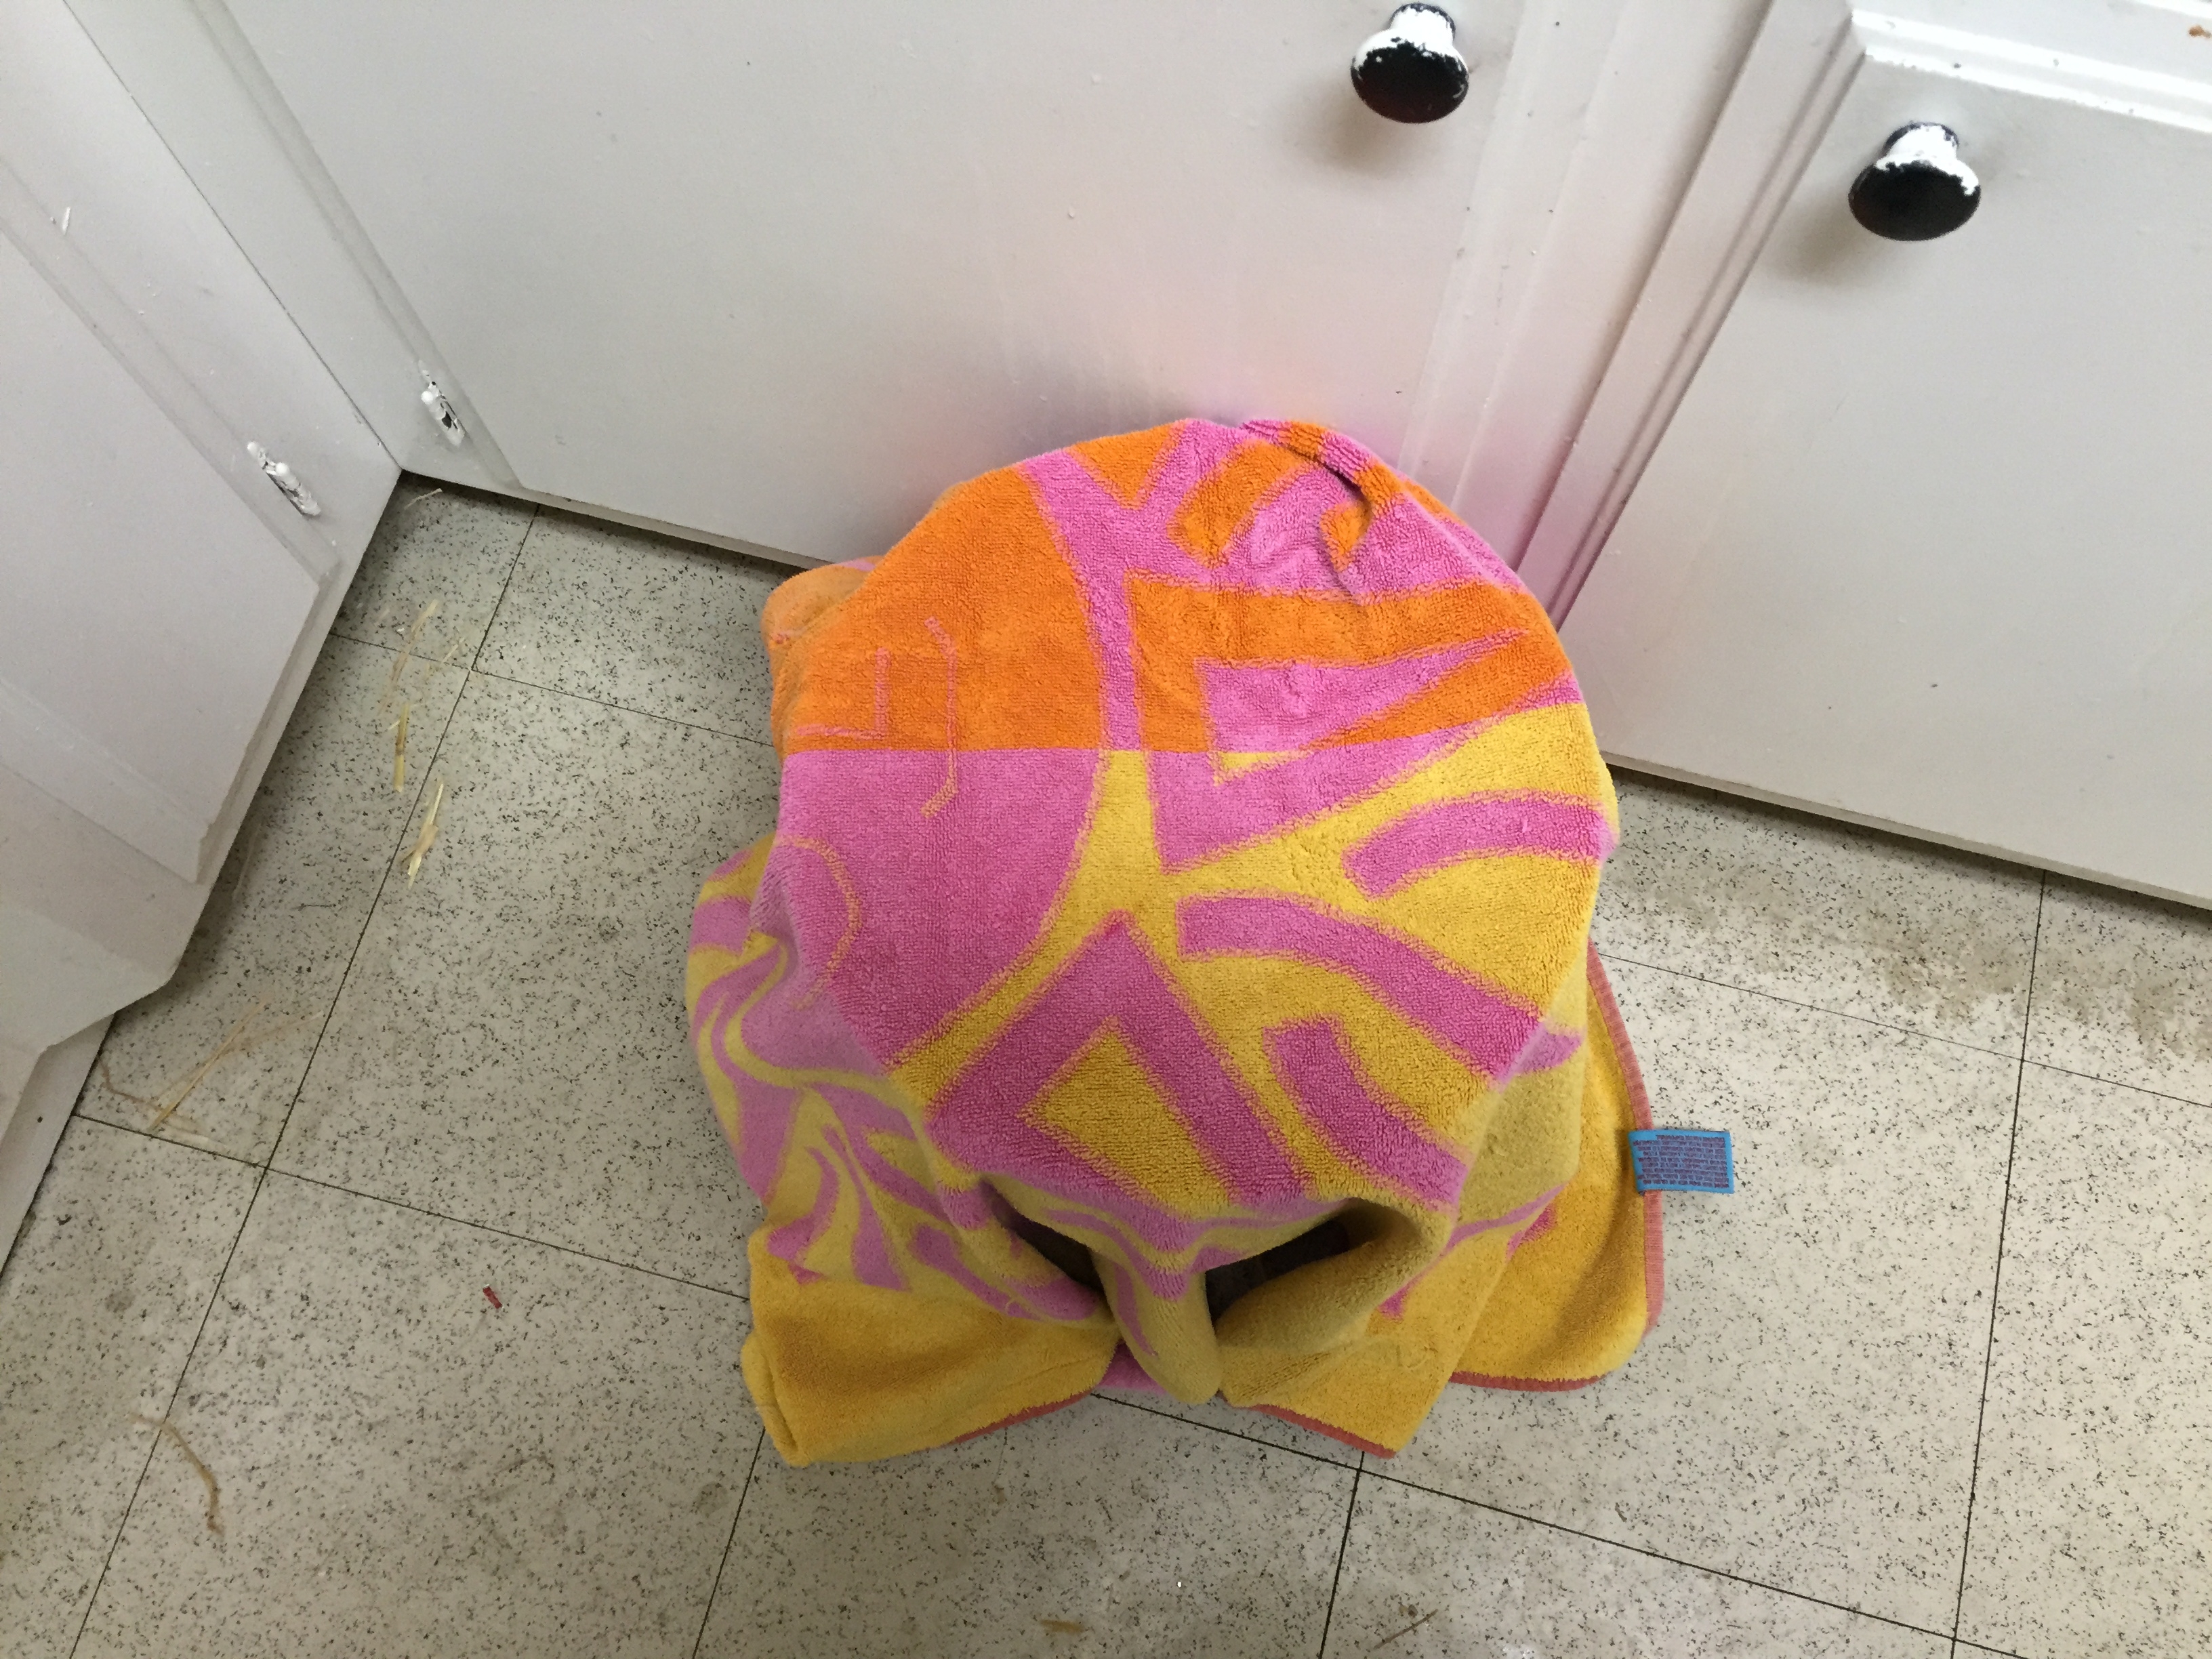
Step Five – Pasteurization
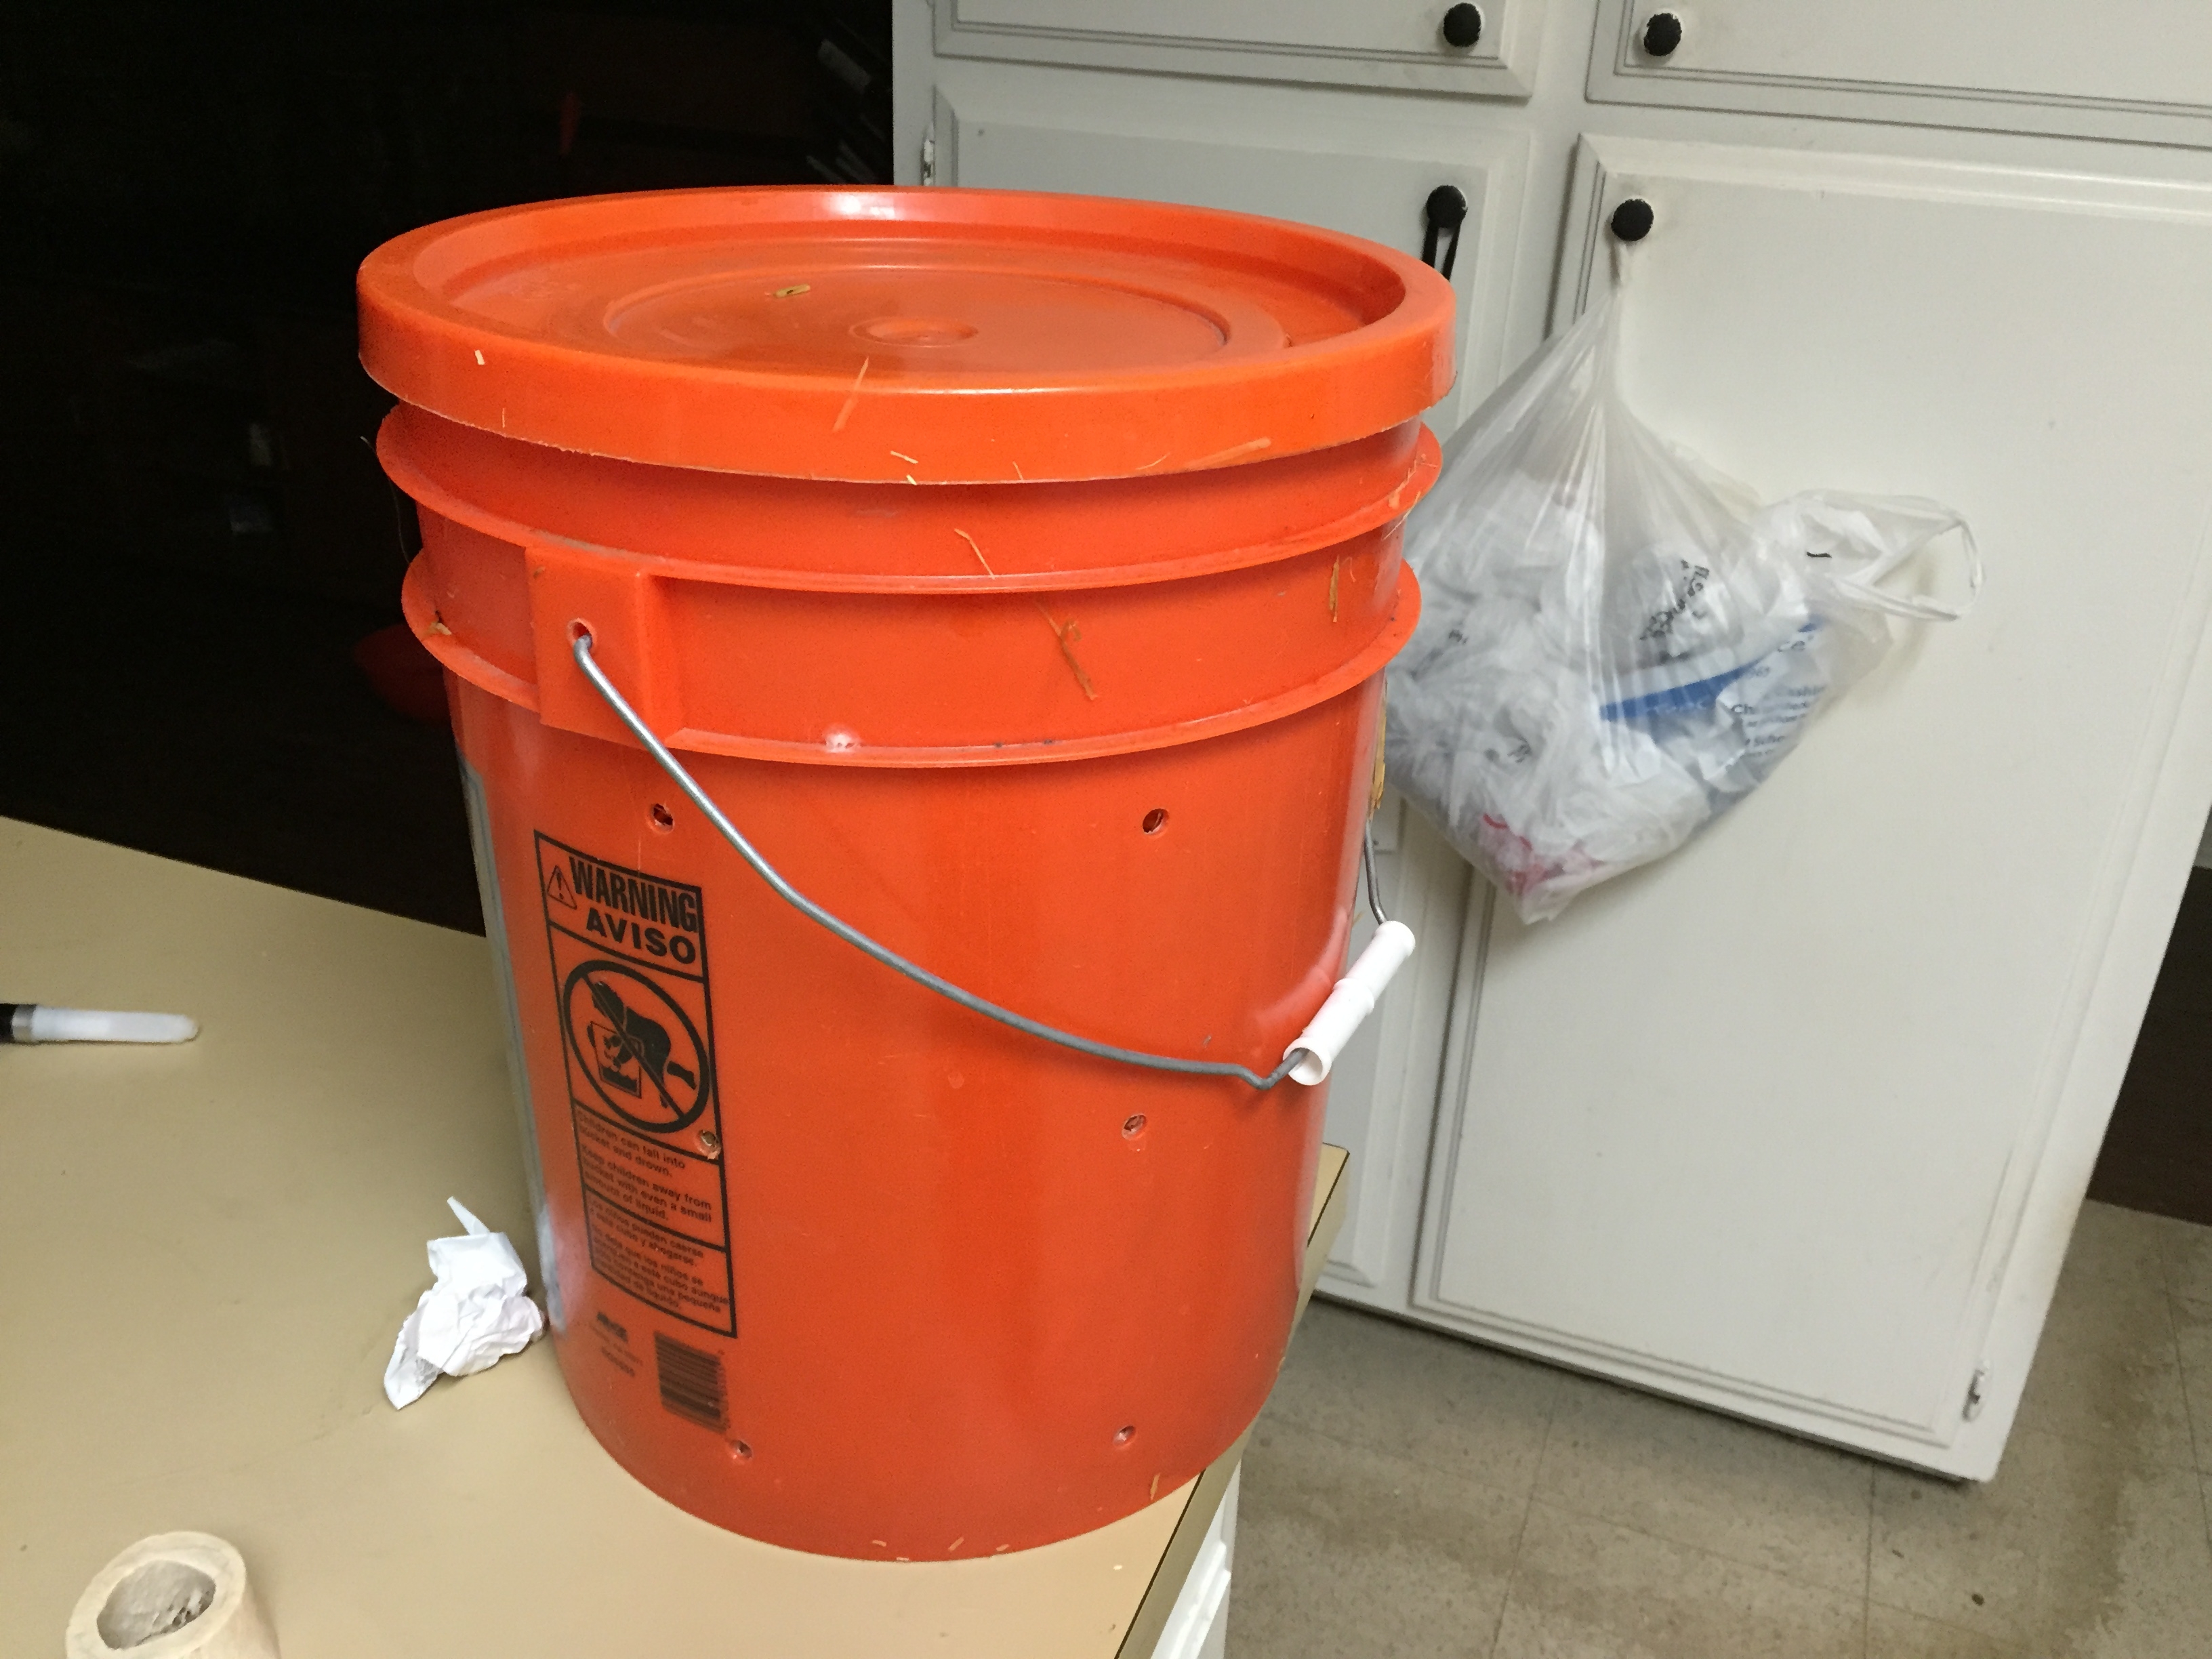
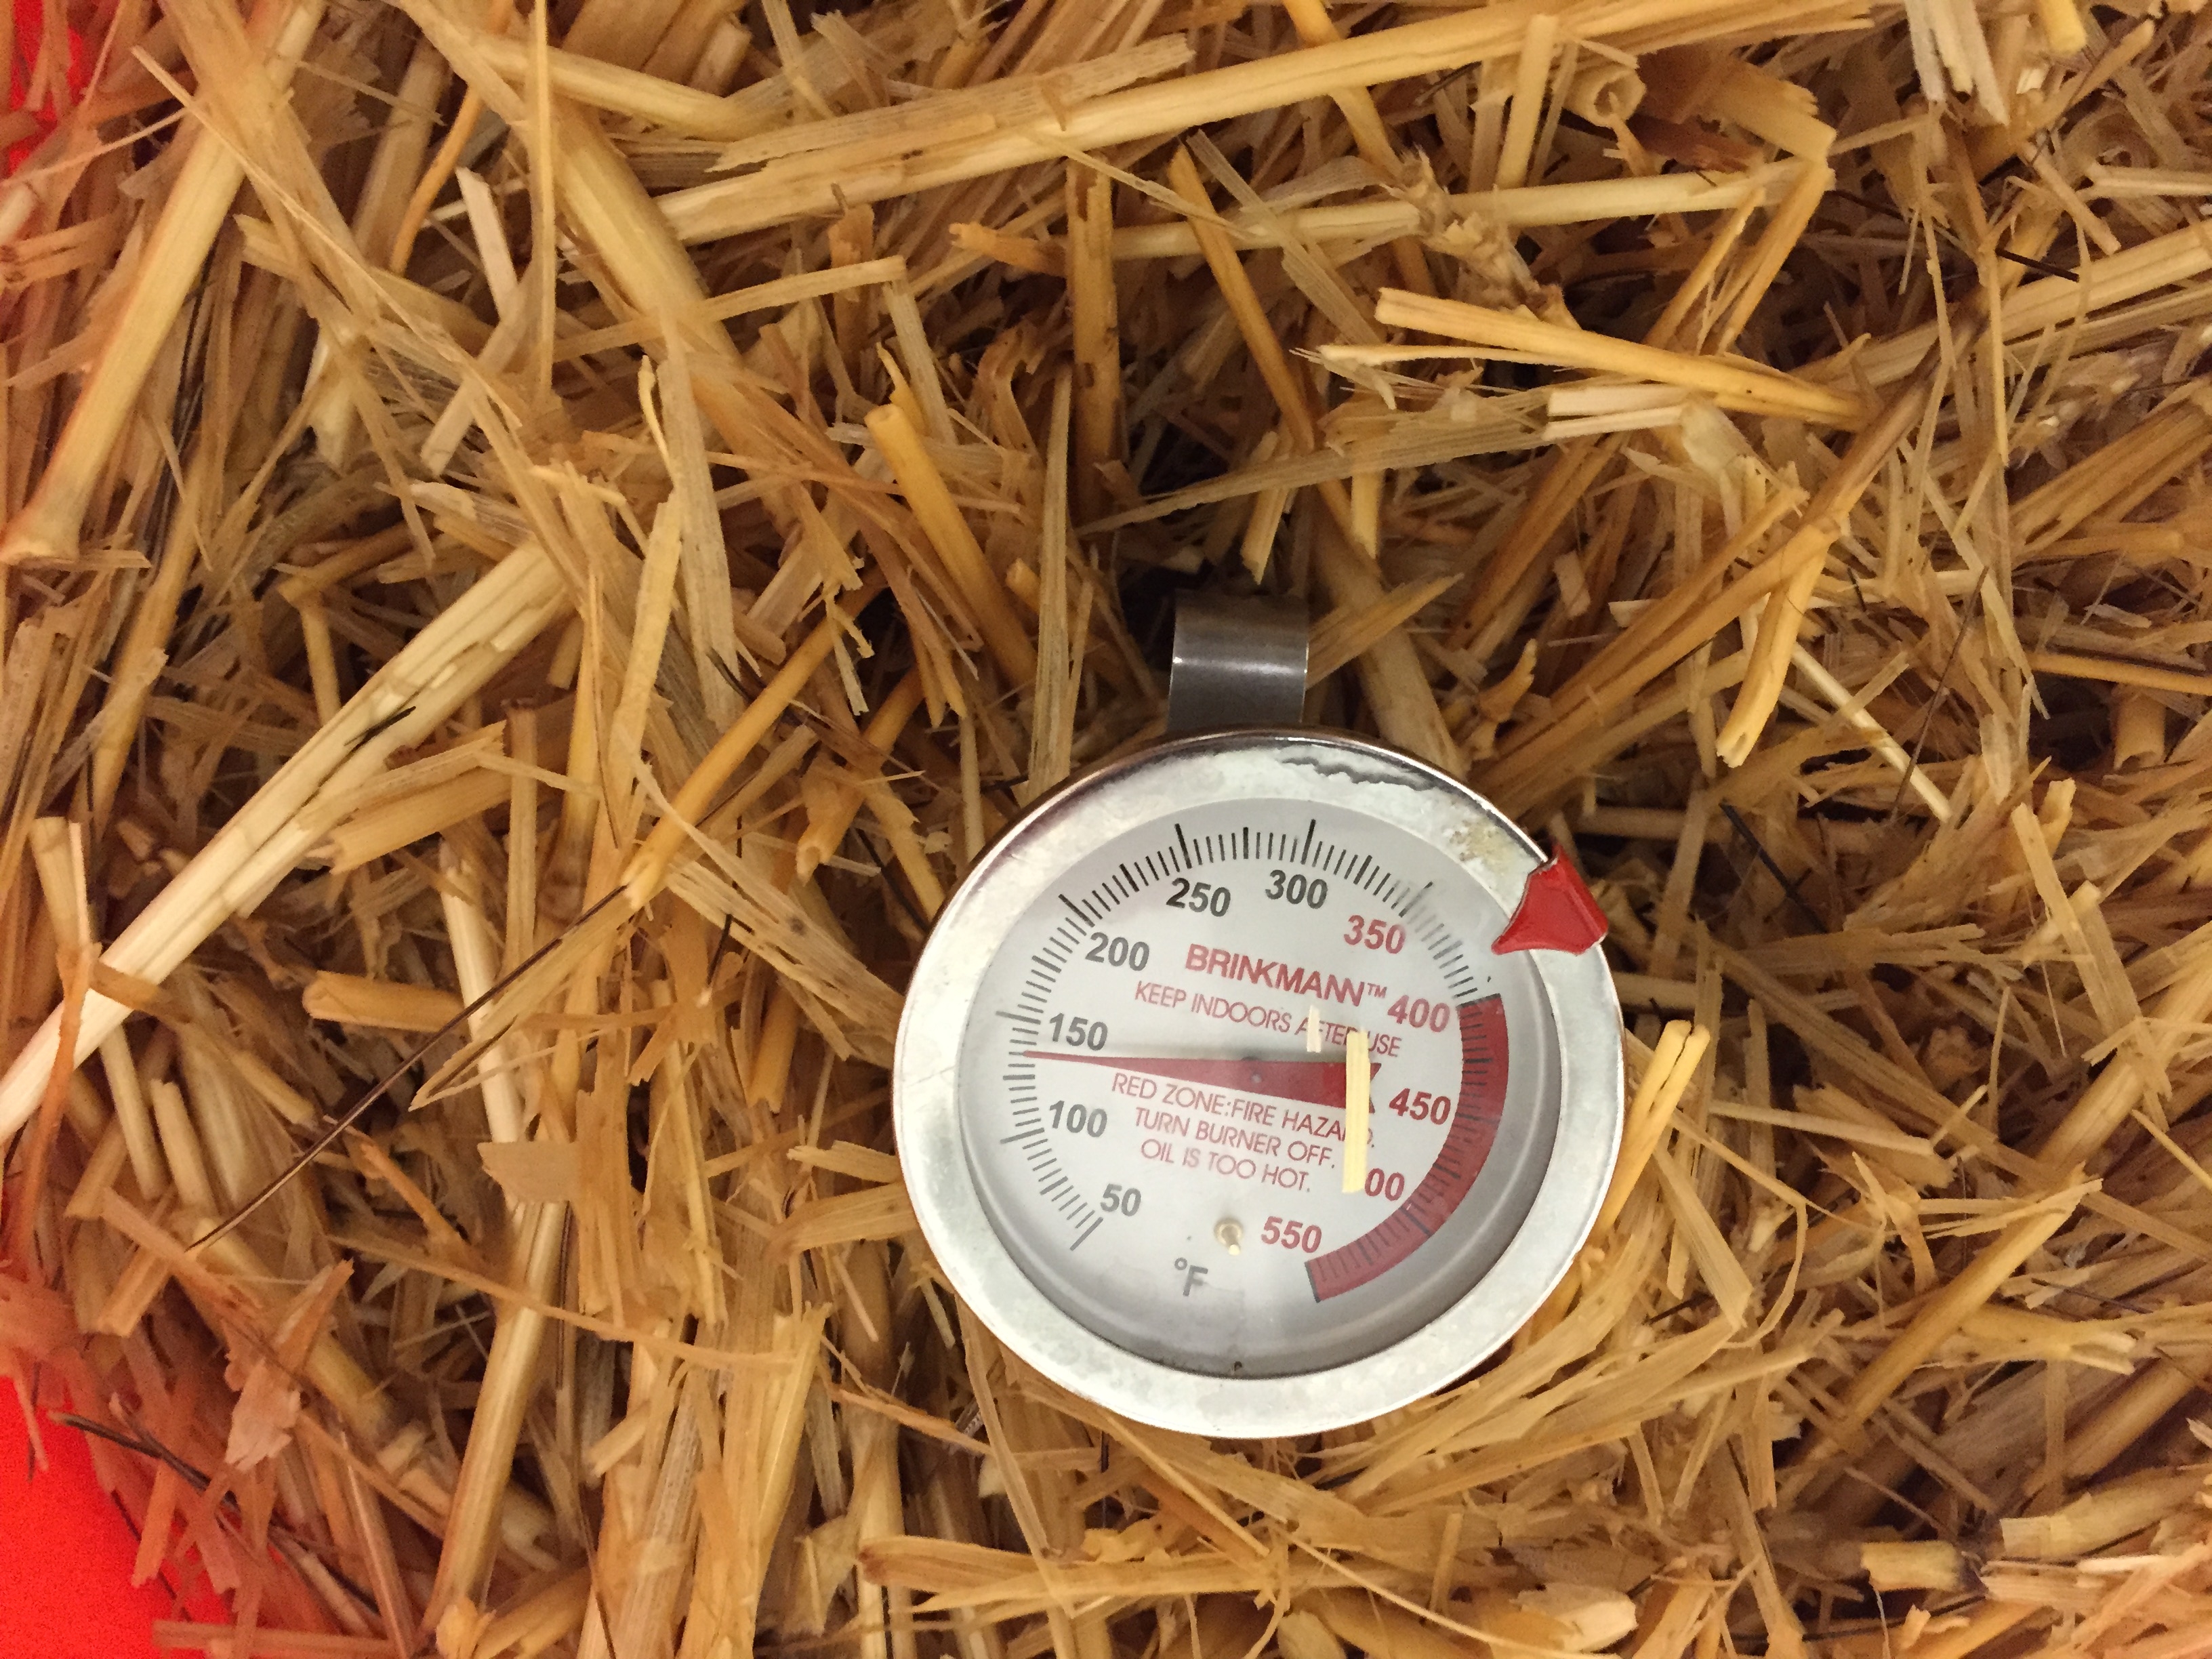
I’ve poured the water and substrate mix into a food safe bucket obtained from home depot. The plastic (polypropelene?) tolerates the heat well. I push the straw under the water, put a thermometer in the straw, put on the lid, and cover the bucket with a towel for some additional insulation.
The system works pretty well. After about an hour and half, the temperature is still almost 140 degrees. The recommended time is about an hour at 145.
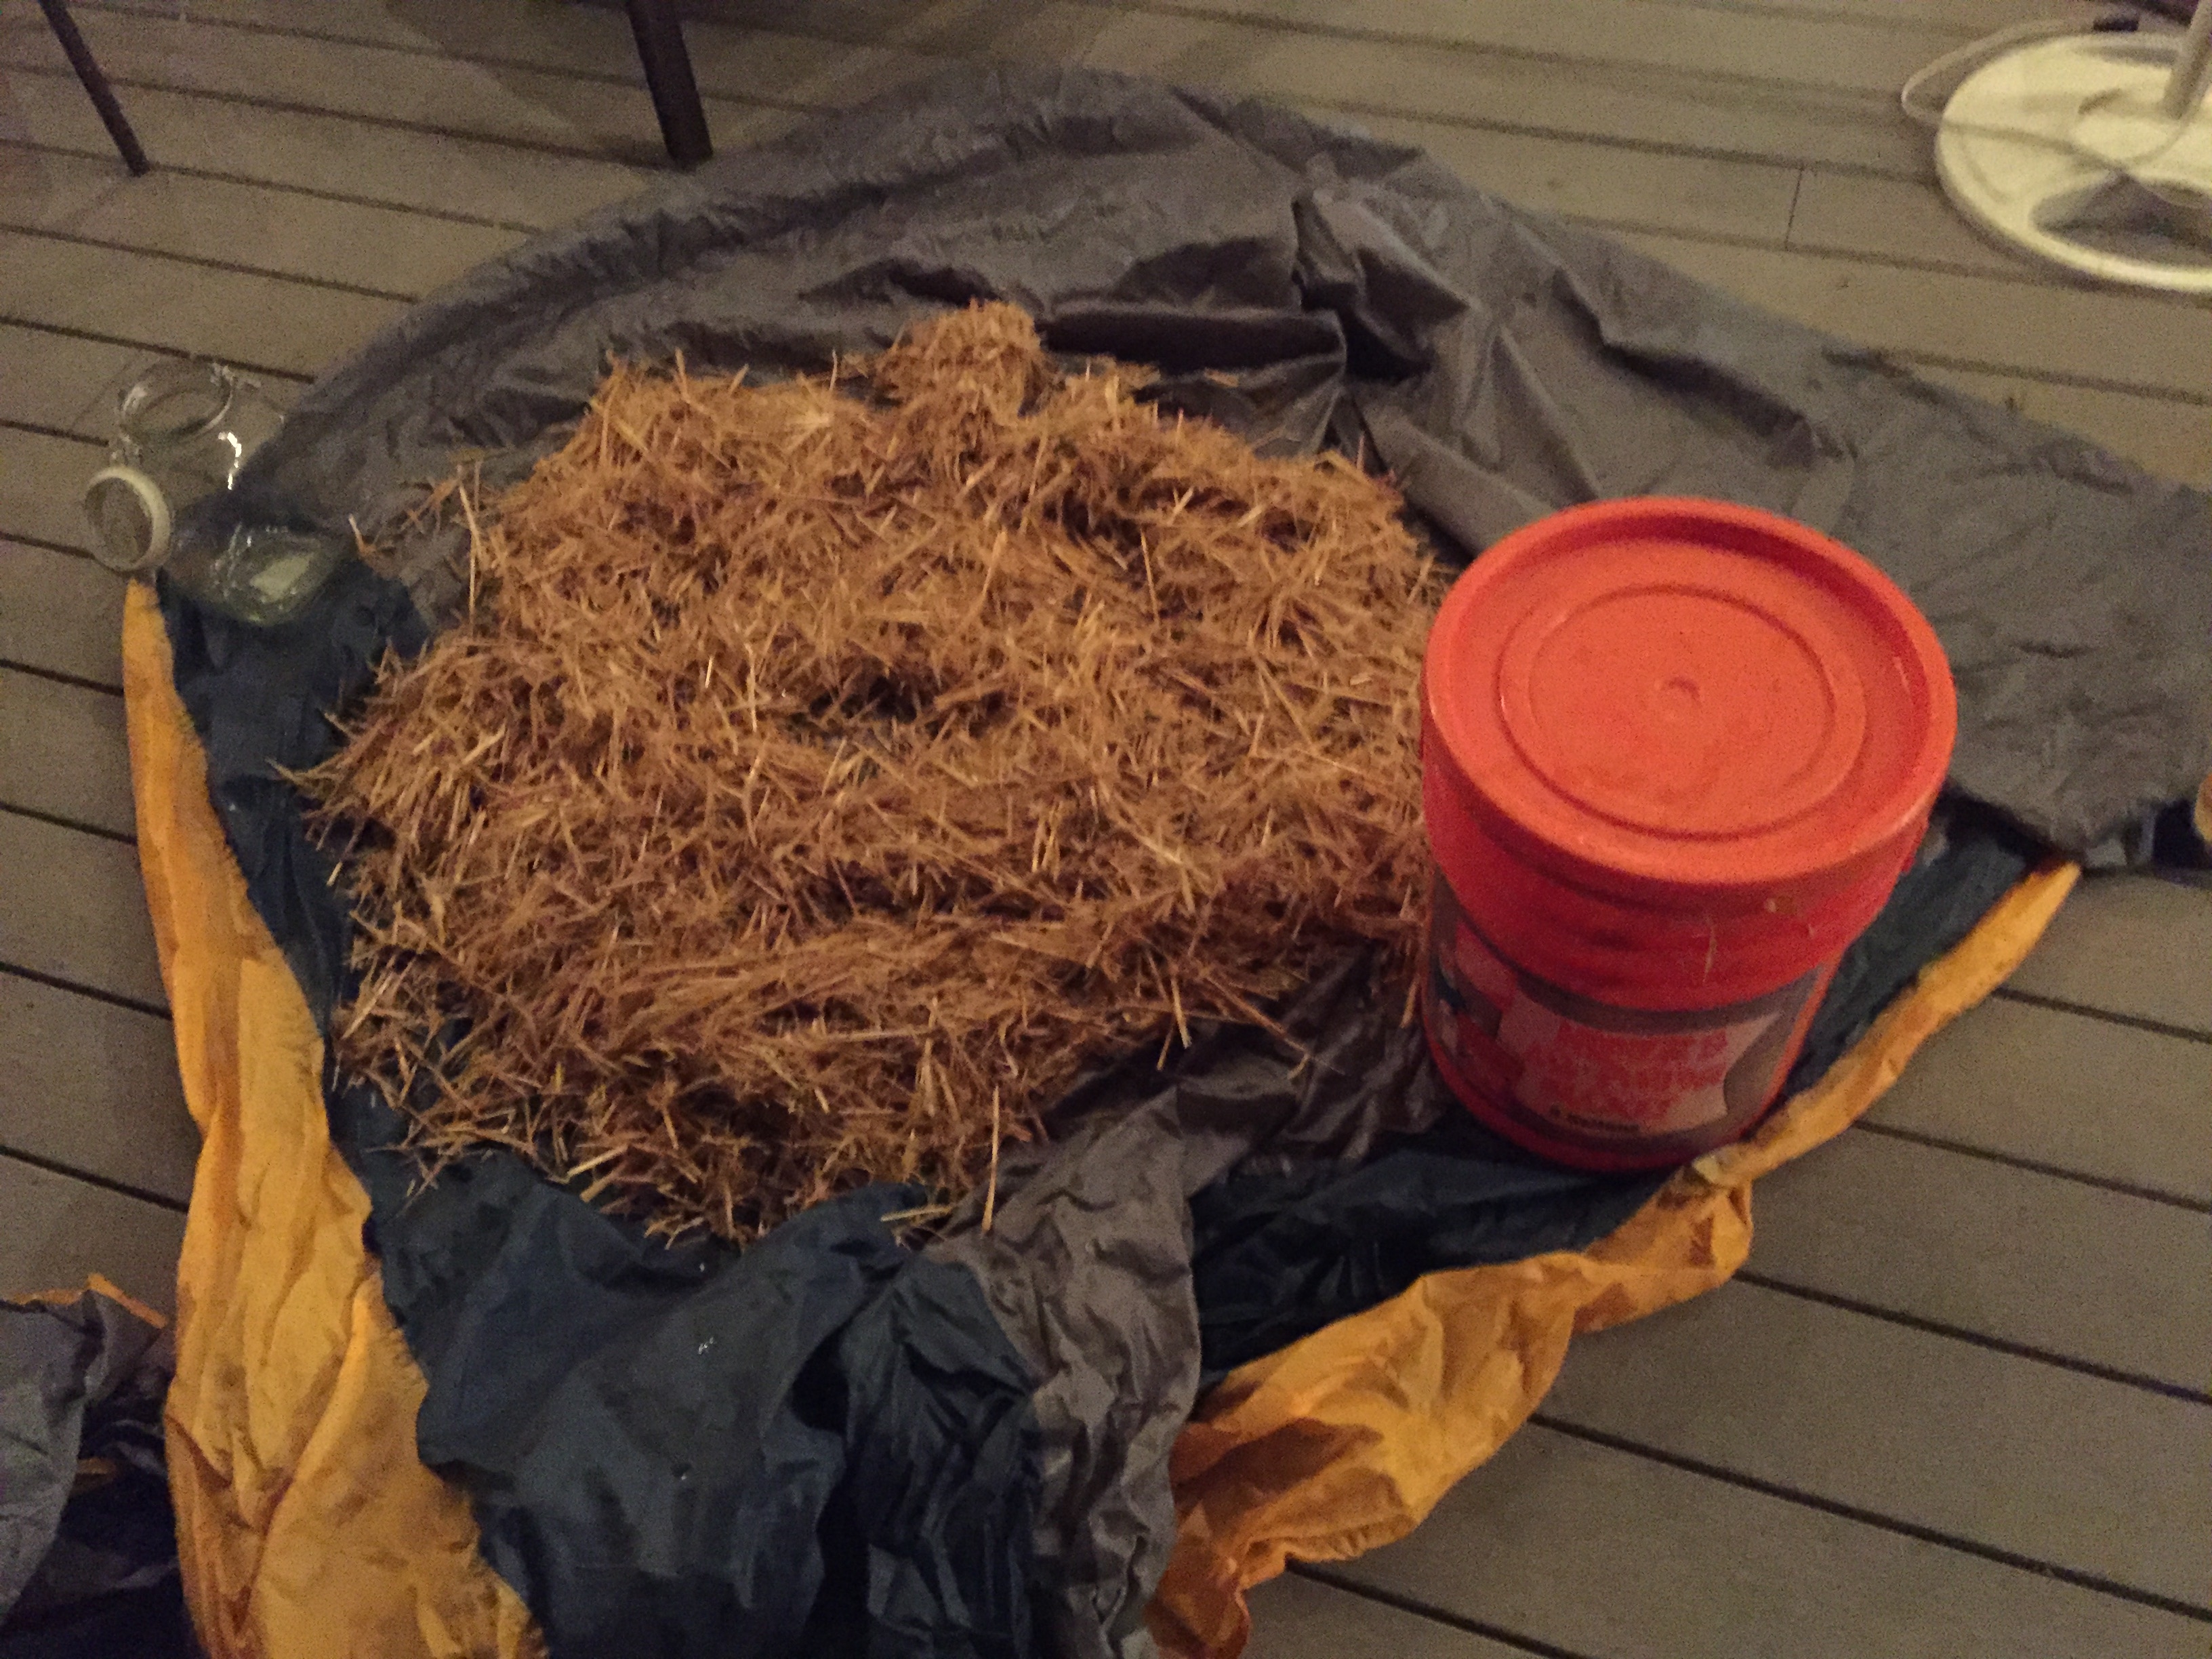
Step Six – Cooling and drying
It is not at all windy outside and I don’t have room in my garage. So I spread the substrate out on a tarp to let it cool down and to let it dry out a bit. Too much moisture inhibits growth almost as much as too little moisture. I leave it out there for about an hour. The heuristic is that it is ready as soon as it is cool to the touch.
Step Seven – Break up the spawn
I put the straw in another bucket filling it nearly to the top. I’ve drilled quarter inch holes into this bucket so the spawn can breath but not too large so anything can get in and eat it. I break up the spawn and spread it out just under the surface of the straw mixing into the top two or three inches of the substrate. I’m told that oyster is so aggressive, that I don’t need to distribute further and evenly.

Step Eight – Let it Grow
Put the lid on and find a nice dark and not too hot place. It will stay there for the next three to four weeks while the mycelium feasts on the straw. When the mycelium has take over, I’ll take the lid off and see if I can get entice the mushrooms to grow by allowing light to reach the mycelium and frequently spraying to keep it moist for maximal crop development. Follow on posts will show progress.